









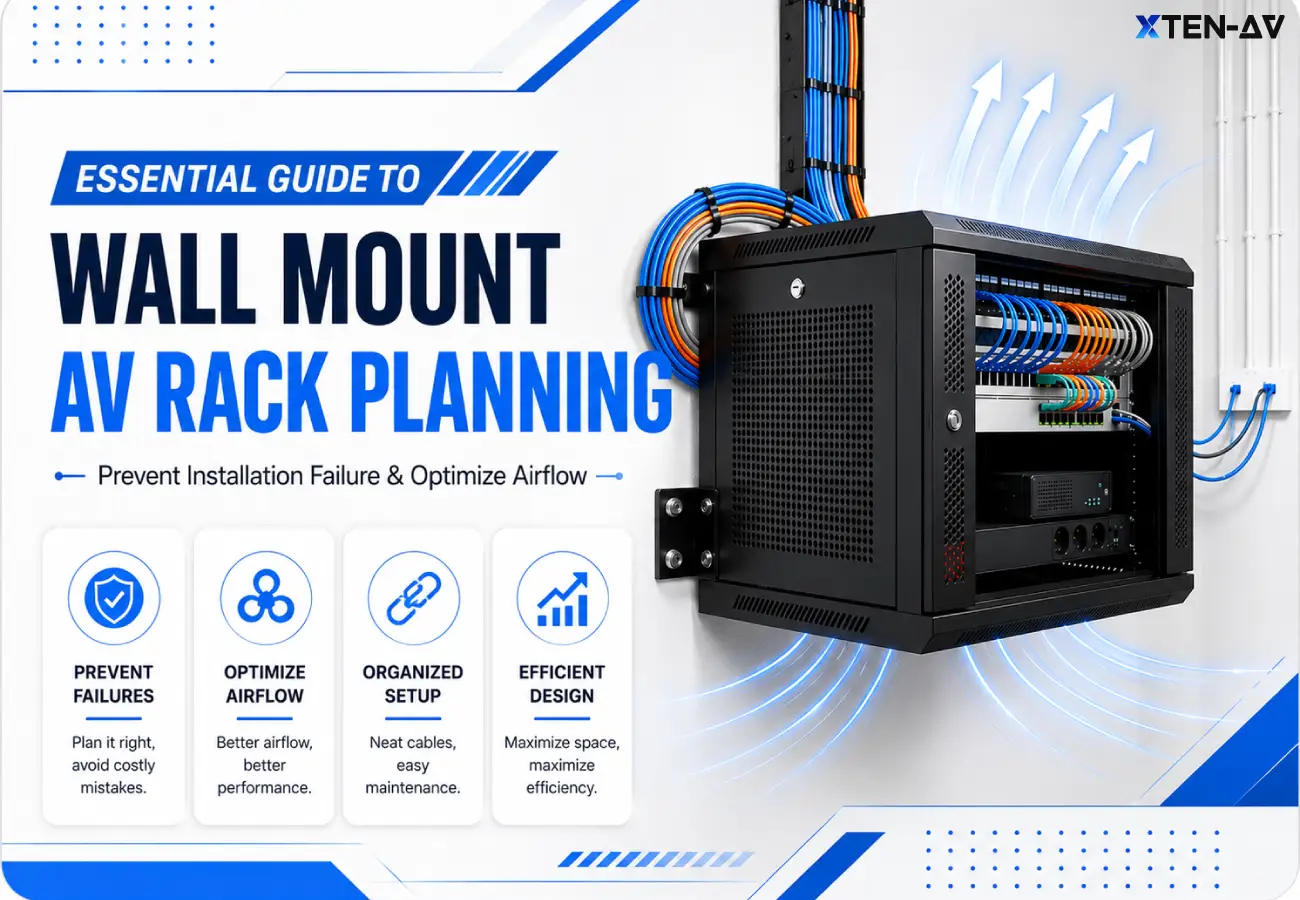


A wall mount AV rack is useful when AV equipment must be secured in a compact space without using a full floor-standing rack. AV teams commonly use wall racks in huddle rooms, classrooms, small conference rooms, retail spaces, security closets, and networked AV installations.
Installation issues surface when compact AV racks are mounted on the wall. Equipment fits in drawings. Once installed, connector depth blocks door closure. Airflow is restricted. Rear service access becomes limited. These failures come from design assumptions not validated against site conditions. This is common when teams don’t plan wall mounted rack layouts before installation.
The breakdown starts earlier in AV project cost estimation and fragmented budgeting workflows. Rack space, cable entry, and airflow are treated as assumptions. Procurement moves ahead with incomplete inputs. Labor effort tied to wall load capacity, mounting constraints and service access is often underestimated. The design looks complete on paper but lacks build clarity.
This gap shows up during project coordination. Installers adjust layouts on site. Timelines extend. Costs increase. System performance becomes inconsistent. In this blog, we cover the Wall Mount AV Rack Planning Guide and how XTEN-AV structures rack planning workflows to deliver predictable outcomes.
Key Takeaways
Wall mount racks are ideal for compact AV, network, and control systems in huddle rooms, classrooms, retail spaces, and security closets where floor space is limited.
Rack planning should consider rack units, equipment depth, cable clearance, airflow, wall strength and future expansion before installation starts.
Choosing a rack by height alone often leads to service, cooling, and cable management issues later.
Cable entry planning improves routing, airflow, and long-term service access inside compact rack enclosures.
Amplifiers, PoE switches and UPS units generate heat quickly in enclosed racks, making airflow and fan planning essential.
Proper wall support, rack documentation and cable labeling improve installation quality, troubleshooting, and future upgrades.
Larger systems with heavy, deep or high-heat equipment are usually better suited for floor-standing racks.
The all-in-one solution for your Audio Visual (AV) Project Design & Documentation needs
Transform your audio-visual experience with XTEN-AV.
No Credit Card required
What Is a Wall Mounted AV Rack?
A wall mount AV rack is an enclosure or act as an equipment rack which can be directly mounted to the wall so that it can hold AV equipment, control systems, network and power devices. It is beneficial in scenarios where the system demands structured equipment placement, but the room does not have enough space for the floor standing rack.
In AV installations, the challenge is the constraint it creates. Depth reduces once connectors are added. Cable entry must be planned early. Airflow is limited. Rear access depends on rack type. Open-frame racks allow quick access. Enclosed racks improve security. Hinged racks support servicing. Shallow racks fit compact devices. Fixed racks suit stable setups.
Where Are Audio Visual (AV) Wall Racks Commonly Used?
Audio visual (AV) Wall Racks are commonly used in huddle rooms, classrooms, small conference rooms, retail spaces, security closets, digital signage areas, worship overflow zones and compact AV control spaces where equipment needs to be securely organized without occupying floor space.
The table below highlights AV Wall Rack applications across key space types, along with typical equipment and essential design considerations:
Space Type | Common Equipment | Main Planning Concern |
Huddle room | codec, switch, control processor | shallow depth |
Classroom | Amplifier, receiver, network device | security and airflow |
Retail | media player, switch, PDU | service access |
Security | NVR, PoE switch, UPS | cable density and heat |
Small office | router, processor, PDU | wall load and cable entry |
How Do You Choose the Right Wall Mount AV Rack Size?
Choose wall mount AV rack size by calculating total rack units, checking equipment depth, confirming wall load capacity, planning cable entry, reserving airflow space, and leaving room for future devices.
Start with a structured sizing process. Add the total rack units for all devices, then verify installation realities such as the deepest component, connector clearance at the rear, ventilation path and service access. These factors directly influence installation quality and long-term system stability.
In compact AV environments like AV closets, 6U or 9U is usually enough for core devices such as switches, patch panels, DSP units, and power modules. In classrooms, huddle rooms, and meeting spaces, 12U or 15U is commonly selected for a wall mount AV equipment rack supporting AV processors, network infrastructure, and structured cabling in a controlled layout.
For larger or distributed deployments, 18U may be suitable when wall load capacity and maintenance access are confirmed during design. A structured approach to calculate AV rack units improves accuracy, reduces installation risks, and supports more predictable AV system planning.
What Equipment Can Go in a Wall Mount Audio Video (AV) Rack?
A wall mount rack can hold compact audio visual (av) equipment and network devices such as control processors, PoE switches, small DSPs, patch panels, media players, wireless receivers, PDUs and compact UPS units. Heavy av devices may require a floor-standing rack.
Equipment | Wall Rack Suitability | Planning Note |
Network switch | Good | Check cable density |
Control processor | Good | Keep accessible |
Small DSP | Good | Verify depth |
Media player | Good | Low heat, compact |
Amplifier | Conditional | Check heat and weight |
UPS | Conditional | Can be heavy |
Full AV receiver | Conditional | Often too deep |
What Are the Main Wall Mount AV Rack Planning Mistakes?
Wall mount AV rack planning mistakes can create challenges such as cable management issues, airflow restrictions, service access limitations and later lead to installation problems. To avoid these proper rack planning is required for ensuring structured equipment organization, enhance thermal performance and follow structural safety standards
Here are some most common walls mount AV rack planning mistakes given below:
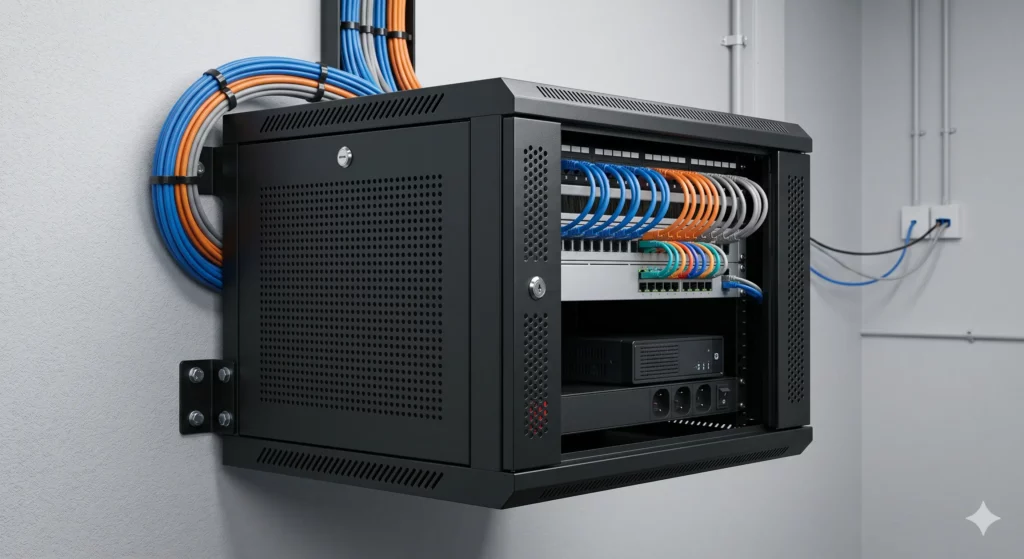
1. Choosing rack size by height only
In a classroom rack elevation planning, a 12U rack is picked to fit the wall. During install, devices crowd the space and cabling becomes difficult. The gap is skipping rack unit calculation and real capacity checks. Define device count, size, and spacing first. This leads to a rack that fits cleanly and installs without friction, even in a small wall mount AV rack.
2. Ignoring equipment depth and cable bend radius
In a huddle room, devices slide in but connectors hit the rear panel. Cables are forced into tight bends. The issue is not validating depth and bend space. Check device depth and allow rear clearance before selection. This ensures proper routing and avoids cable stress.
3. Mounting on weak wall surfaces
In retail or security spaces, racks are fixed on drywall without load checks. Over time, weight creates risk. The problem is skipping structural validation. Confirm wall type and anchoring points before mounting. This results in a safe and stable installation.
4. Not planning airflow
In compact enclosures, tightly packed devices trap heat. Performance drops and failures increase. The mistake is ignoring thermal behavior. Plan spacing, ventilation, and equipment order. This improves reliability and extends equipment life.
5. Blocking service access
In small office setups, racks are installed flush with no access. Maintenance becomes slow and disruptive. The issue is not considering service needs. Plan front or rear access based on layout. This makes upgrades and troubleshooting easier.
6. Overloading the rack with heavy equipment
In security systems, heavy devices like UPS units are added without load checks. This stresses both the rack and wall. The gap is ignoring weight limits. Validate load capacity before placement. This keeps the system balanced and secure.
7. Forgetting cable entry planning
In many installs, cable paths are decided on-site. This leads to clutter and poor routing. The issue is lack of entry planning. Define entry points early in design. This keeps cabling structured and manageable.
8. Not documenting the rack layout before installation
In multi-device systems, lack of layout clarity slows down installation. Teams struggle with placement and connections. The problem is missing documentation. Create rack layouts and labeling before install. This improves coordination and reduces errors.
For a more structured approach, follow AV rack design best practices to improve rack elevation diagram planning accuracy and installation outcomes.
Wall Mount Audio Visual (AV) Rack Planning Checklist for Installers
Before the AV installation begins, always verify the final rack elevation documentation. Check for wall strength, equipment depth, rack units, cable entry point, power access, airflow, service clearance, lockability and proper cable labeling to ensure the wall mount audio visual (av) rack is properly planned.
Use this checklist to validate your wall mount rack before installation:
- Verify wall substrate and load rating
Confirm wall type, anchor method and load capacity. This prevents mounting failure under equipment load. - Calculate total rack units (RU) from actual equipment
Build the rack from a confirmed device list. This avoids overfill and supports future expansion. - Validate usable depth including terminations
Check full equipment depth with rear connectors and cable clearance. This ensures proper fit and cable integrity. - Define cable entry and pathway strategy
Lock in top, bottom, rear or side entry based on conduit and routing plan. This avoids field conflicts. - Maintain cable bend radius and service loops
Allow proper bend radius and slack for termination and maintenance. This improves signal reliability and serviceability. - Plan thermal management and airflow path
Account for passive ventilation, spacing and heat load. Compact enclosures require controlled airflow. - Place high-heat devices with thermal separation
Position PoE switches and amplifiers to avoid heat stacking. This reduces thermal hotspots and failure risk. - Check rack load capacity before heavy device placement
Validate weight limits before installing UPS or dense equipment. This ensures structural stability over time. - Ensure front and rear service access
Confirm clearance for terminations, device removal, and maintenance. This reduces downtime during service. - Document rack elevation and cable labeling
Prepare front and rear rack layouts with clear labeling. This supports installation accuracy and project handover.
Why this checklist Matters:
This checklist reflects the real-world AV integration workflows. By following this checklist it can help to reduce site issues,enhance installation efficiency and offer long-term system performance in professional AV environments.
How Should Cable Entry Be Planned for a Wall Mount AV Rack?
Cable entry should be always planned before starting the rack mounting process. AV teams need to check for cable entry from the top, bottom, rear, side conduit or through wall openings. By early planning it enables it to avoid tight cable bends, unlabeled connections and blocked service access.
Here are the necessary cable entry considerations for a wall mount AV rack:
Top Entry:
Top entry works best when conduit or cable trays run overhead. It supports cleaner vertical routing and better separation between low-voltage and power pathways.
Bottom Entry:
Bottom entry is commonly used in raised-floor spaces or where wiring routes upward through the wall cavity beneath the enclosure.
Rear Wall Entry:
Rear wall entry is ideal when connections terminate directly behind the rack location. Hinged or swing-out enclosures make rear access easier during commissioning and maintenance.
Side Conduit:
Side conduit routing is often preferred in security, industrial and structured cabling environments where conduit runs along the wall surface.
Patch Panel Position:
Patch panel placement should align with the selected entry direction to improve organization, maintain airflow and simplify cable tracing.
Power Separation:
Separating electrical and signal pathways reduces interference and keeps future troubleshooting more efficient.
Service Loop:
Service loops provide extra slack for equipment replacement, port changes, and future upgrades without replacing existing cable connections.
Labeling Strategy:
Clear labeling improves commissioning, speeds up diagnostics, and keeps infrastructure easier to manage over time.
See the guide on AV rack cable management mistakes that delay projects for more rack planning and routing best practices.
How Should Cooling Be Planned for a Wall Mount AV Rack?
Wall mount AV racks require proper cooling airflow as compact wall enclosures trap heat rapidly. Audio visual (AV) installation teams need to plan for vented panels, check for proper fan placement, ensure room ventilation and finally verify equipment order before positioning the amplifiers, PoE switches or Ups unit inside the rack.
Following practices must be included in every wall mount AV rack cooling plan:
- Compact racks heat up faster, so plan airflow early instead of reacting after issues appear.
- Avoid stacking heat-generating equipment such as amplifiers, PoE switches and UPS units too closely.
- Place vented or fan panels above heat sources to support natural upward airflow.
- Check each manufacturer’s minimum clearance requirements before finalizing equipment placement.
- Keep air paths clear and avoid blocking front or rear vents with cable bundles or blank panels.
- In fully enclosed racks or warmer rooms, add active cooling fans to control heat buildup.
See the AV rack cooling guide for detailed guidance on thermal planning across wall mount and floor-standing rack types.
Wall Mount AV Rack vs Floor Standing AV Rack: Key Differences
A wall mount AV rack is suitable for compact systems where limited floor space is present. Whereas, a floor-standing rack is best for heavy equipment and larger systems for easy long-term service access.
Let’s compare Wall Mount AV Racks and Floor-Standing AV Racks across various key factors.
Factor | Wall-Mounted AV Rack | Floor-Standing AV Rack |
Deployment suitability | Ideal for compact, space-constrained AV environments. | Designed for large-scale, high-density AV deployments |
Space utilization | Maximizes wall space and preserves floor area. | Requires dedicated floor footprint. |
Equipment capacity | Limited depth and lower expansion flexibility. | Supports deeper equipment and scalable expansion. |
Load handling capacity | Dependent on wall strength, suited for lighter loads. | High load-bearing capacity for heavy AV systems. |
Service accessibility | Requires planned front/side access for maintenance. | Provides straightforward access for servicing and upgrades. |
Thermal performance | More sensitive to airflow constraints and heat buildup. | Better airflow support for high-density configurations. |
Installation flexibility | Best suited for distributed or localized AV setups. | Ideal for centralized AV infrastructure deployments |
Typical use cases | Huddle rooms, classrooms, retail spaces, security systems. | Conference rooms, control rooms, data/rack rooms. |
Explore how smaller AV rack design can improve space efficiency and system performance.
How XTEN-AV's X-draw Helps Plan Wall Mount Audio Visual (AV) Racks?
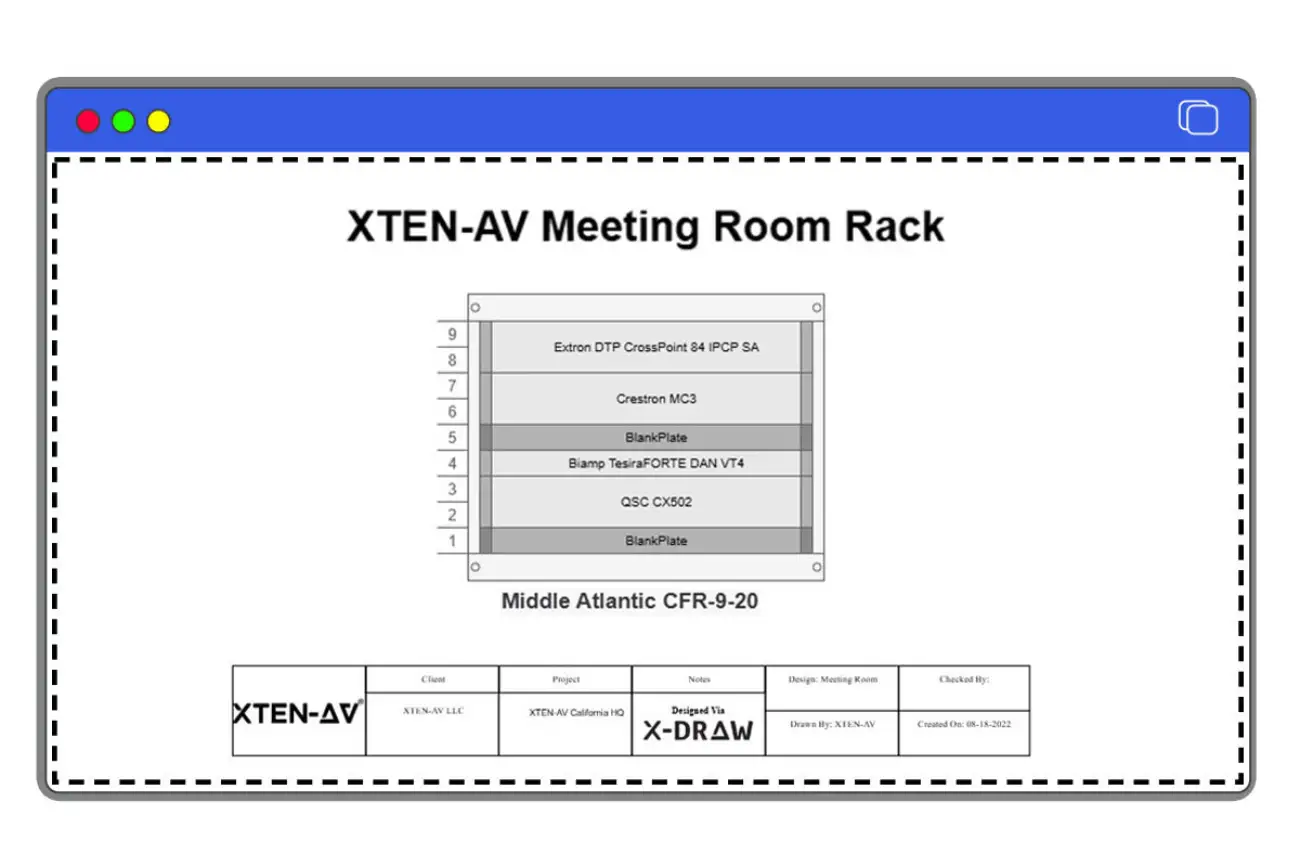
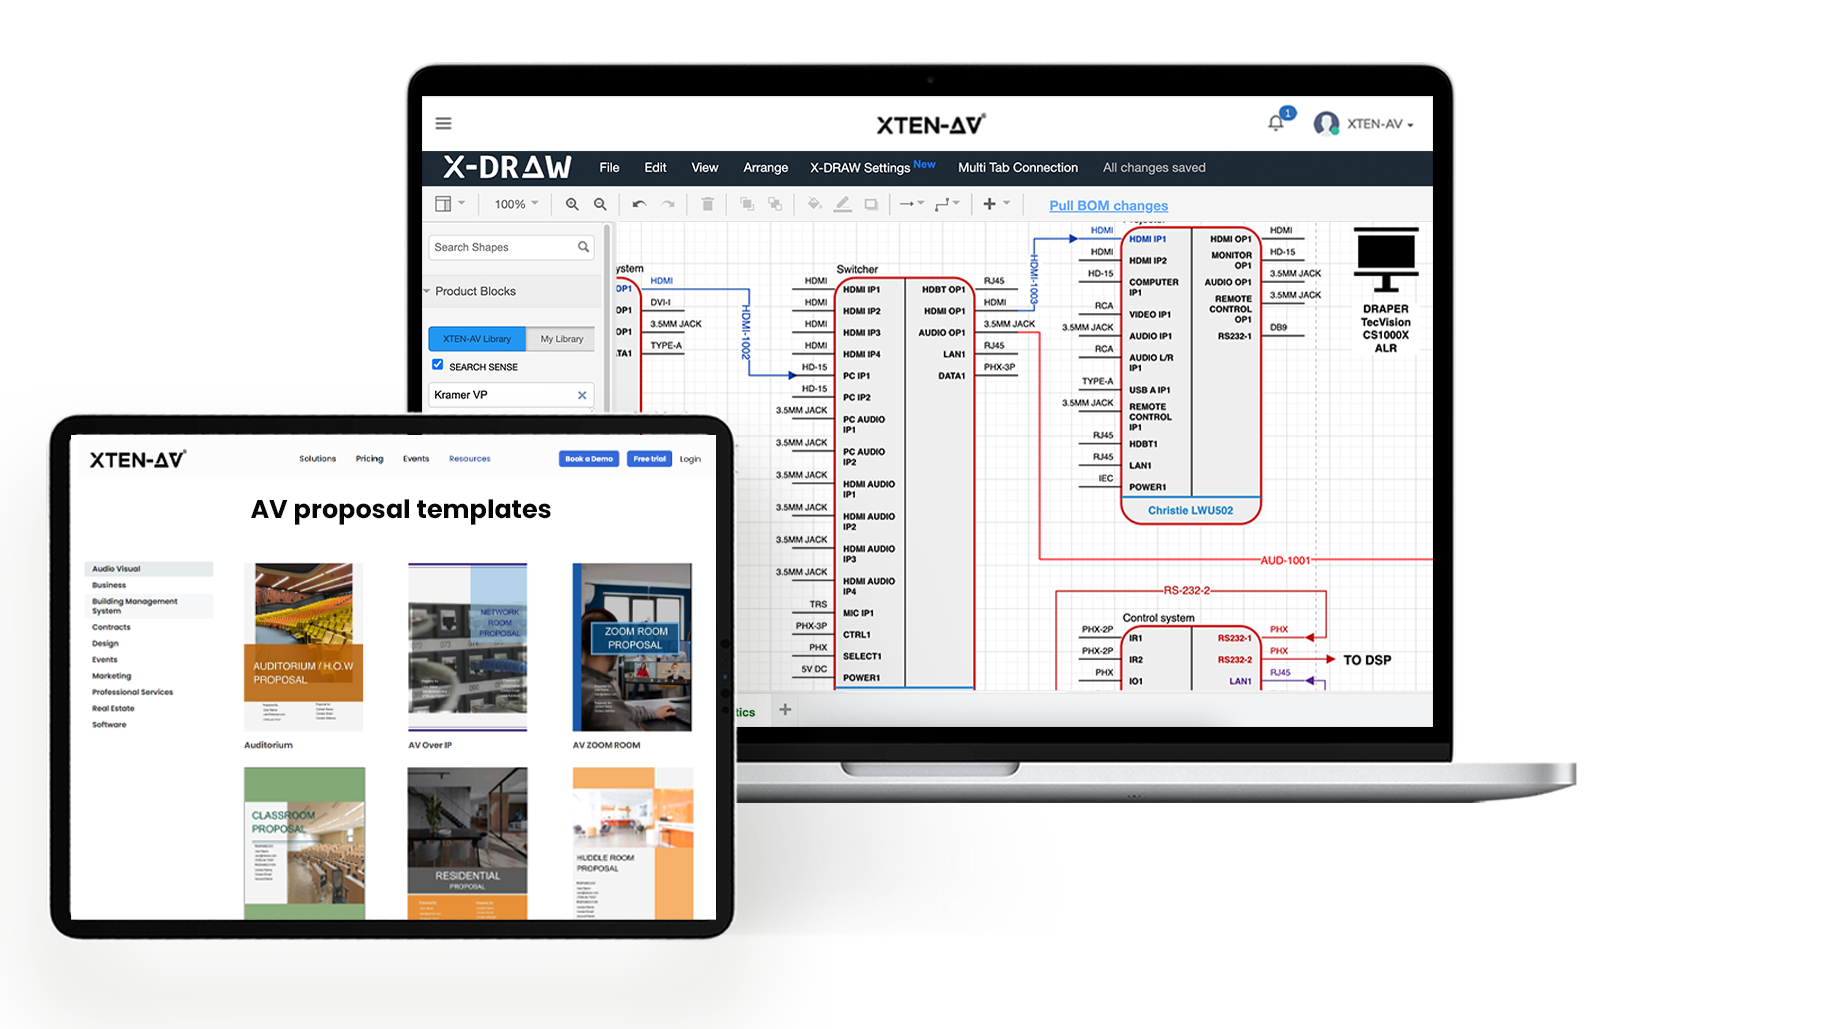
Wall mount audio rack planning becomes difficult when rack elevations, cable pathways, airflow spacing and equipment layouts are managed across disconnected tools. In compact AV environments, small coordination gaps often lead to blocked airflow, cable congestion, installation delays and difficult maintenance later. X-DRAW by XTEN-AV is a cloud-based Audio visual (AV) rack design software built for AV professionals who need coordinated rack layouts, AV schematics and infrastructure drawings within a unified workflow. With access to 1.6M + products library and 5200+ brands, teams can streamline equipment selection, rack planning, and installation documentation from a single platform.
Keyways through which XTEN-AV’s X-DRAW enhance wall mount AV rack planning are listed below:
Design Rack Layouts with True Device Dimensions
Generic CAD blocks often create fitment and clearance issues during installation. X-DRAW generates automated rack elevations using real manufacturer dimensions and AVIXA block standards, helping AV designers validate spacing, airflow clearance and rack fit before procurement begins.
Automate Cable Labeling and Signal Flow Documentation
Manual cable labeling slows commissioning and increases documentation errors. Automated cable labeling and styled signal paths create cleaner AV schematics, coordinated drawings, and installation-ready outputs for integrators and field teams.
Use AI-Powered Search Sense for Faster System Design
Product research and compatibility checks consume valuable engineering time. AI-powered Search Sense identifies relevant Audio visual (AV) components quickly while keeping rack layouts, diagrams and proposals synchronized during design updates.
Plan Rack Cooling and Ventilation Early
Compact wall mount racks retain heat quickly, especially around amplifiers, PoE switches, and UPS units. X-DRAW incorporates thermal spacing and ventilation planning directly into the rack workflow, helping teams identify airflow restrictions and heat concentration zones before installation.
Plan your wall mount AV rack with XTEN-AV!
The all-in-one solution for your AV needs
Transform your audio-visual experience with XTEN-AV.
No Credit Card required
Audio Visual System Design Mastery + Winning Proposals = 10x Productivity!
- ✔ Automatic Cable Labeling & Styling
- ✔100+ Free Proposal Templates
- ✔ Upload & Create Floor Plans
- ✔1.5M Products from 5200 Brands
- ✔ AI-powered ‘Search Sense'
- ✔Legally Binding Digital Signatures
Conclusion
A wall mount rack impacts more than equipment placement. In compact AV environments, rack depth, airflow, cable pathways and wall support directly influence reliability and long-term service access. Whether designing around a shallow AV rack for a classroom, huddle room, retail space or security closet, early planning helps prevent cooling issues, cable congestion and installation delays. Audio Visual (AV) Software like X-DRAW by XTEN-AV simplify rack layouts, AV schematics for cleaner, scalable infrastructure design.
FAQ's
A wall mount AV rack is a wall-installed enclosure used to house AV, network and power equipment. It helps organize systems, improve access and save floor space.
Use it in compact spaces where floor racks are not practical. It is commonly used in huddle rooms, classrooms, retail and security areas.
Most wall-mount AV racks for compact AV systems use a 12 to 18-inch depth. The rack depth should match the deepest device while still leaving rear space for connectors, cable routing, and proper cable bend radius.
Yes, but ensure proper airflow and check heat load. Amplifiers require ventilation and stable mounting support.
Yes, if the wall and rack can handle the weight. Always verify load capacity before installation.
Use vented panels, allow spacing between devices, and add fans if needed. Good airflow prevents overheating.
Choose a wall mount AV rack size by calculating total rack units for all equipment, adding 1U–2U for airflow and future expansion and confirming the rack depth fits the deepest device. Common sizes include 6U, 9U, 12U, 15U and 18U. Do not choose based on height alone.
Yes, XTEN-AV’s X-DRAW allows you to create rack elevation diagrams, plan layouts and validate AV system design before installation.
Explore more by topic

AV Design Mastery + Winning Proposals = 10x Productivity!
- Automatic Cable Labeling & Styling
- 100+ Free Proposal Templates
- Upload & Create Floor Plans
- 1.5M Products from 5200 Brands
- AI-powered ‘Search Sense'
- Legally Binding Digital Signatures
No Credit Card Required
Related Blogs

-

- Posted by Sahil Dhingra

Audio Visual 7 Best Floor Plan Software for AV System Integrators Sahil...
-
- Posted by Sahil Dhingra
Audio Visual AV Cables Guide: Types, Connectors, Uses and Wiring Diagrams for...
-
- Posted by Sahil Dhingra
Audio Visual Courtroom Audio Visual (AV) Systems: A Complete Guide for Courts...