


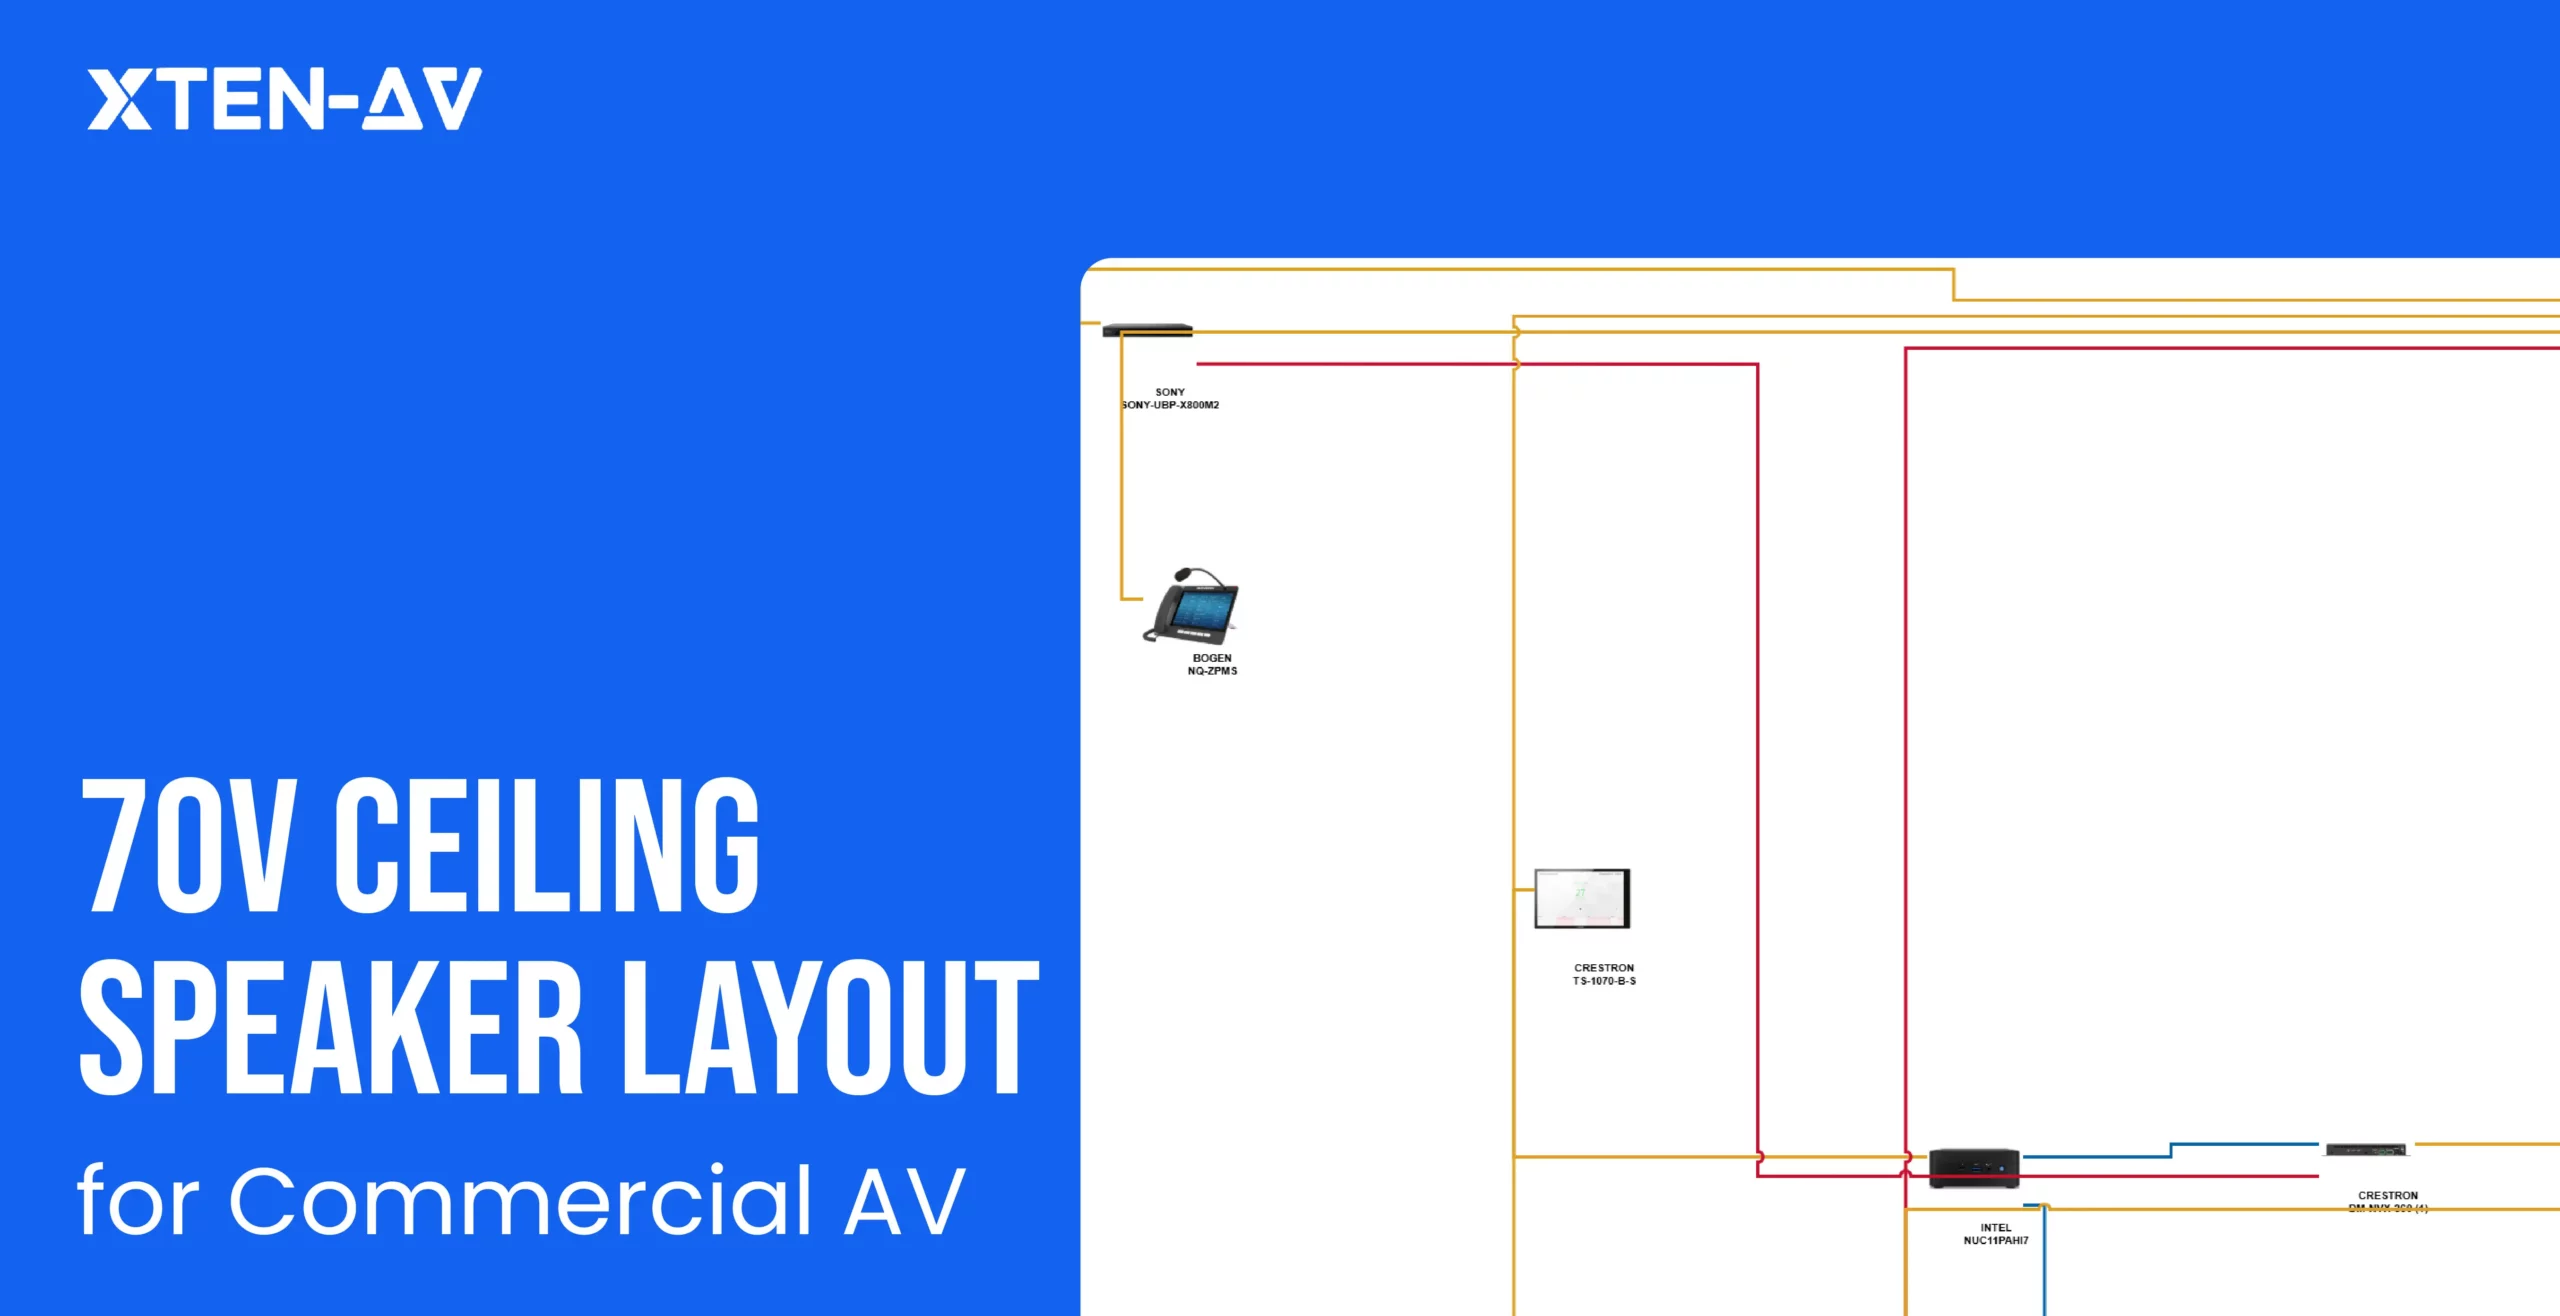
70V ceiling speaker layout fails in execution when design assumptions do not show real onsite scenarios. Speaker placement, tap settings and zoning are often finalized during the design stage without validating ceiling obstructions, cable routing feasibility or zone-wise acoustic variation.
This misalignment often carries over into the overall AV project cost estimation and budgeting process, where amplifier sizing, procurement and labor planning are calculated independently based on actual load behavior. As a result, system design decisions proceed without a reliable connection to real-world field conditions.
In this blog, we will be discovering how the execution gaps in 70V speaker layout appear during the installation and commissioning stage. These challenges arise from unclear scope definitions, repeated onsite adjustments, and a disconnect between AV design assumptions and field conditions. Finally, leading to project delays, budget overruns and unreliable system performance across the commercial AV deployments process.
Key Takeaways
- 70V ceiling speaker layouts support long commercial speaker cable runs with lower signal loss and simpler multi-speaker wiring.
- Speaker taps settings control amplifier load, output volume and SPL coverage across distributed ceiling speaker systems.
- Incorrect 70V tap selection can create uneven audio coverage, low headroom and amplifier overload in commercial AV installations.
- 70V amplifier sizing must include the total tapped-speaker wattage along with 20–30% headroom for paging and background-music peaks.
- Paging speaker layouts prioritize speech intelligibility, while background music systems require wider, more balanced audio coverage.
- Zone-based 70V audio systems enhanced control for offices, retail stores, warehouses and mixed-use commercial environments.
- AV system integrators and designers can use XTEN-AV’s Ceiling Speaker Placement Calculator to simplify speaker spacing, amplifier load calculation and 70V layout documentation.
The all-in-one solution for your Audio Visual (AV) Project Design & Documentation needs
Transform your audio-visual experience with XTEN-AV.
No Credit Card required
What Is a 70V Ceiling Speaker Layout?
A 70V ceiling speaker layout is an engineering process that involves designing a distributed commercial system using multiple ceiling speakers connected to a 70V line. AV integrators often prefer these when setting up corporate offices, retail stores, warehouses, schools and training rooms where there is a requirement for multi-zone paging, long-length cabling and background music coverage. The layout helps properly define speaker placement, tap settings and amplifier sizing and simplifies the zone distribution process to maintain clear audio coverage and ensure stable system performance. Incorrect tap selection or poor speaker spacing can lead to uneven sound distribution, amplifier overload and unreliable paging performance across commercial spaces.
When Should AV Teams Use 70V Ceiling Speakers?
AV teams should prefer 70V ceiling speakers for large or multi-zone environments that require proper coverage and simplified load handling. It is best suited for commercial spaces which have extended routing distances, contain multiple coverage zones and require area-based control mechanisms with complex amplifier matching. It is useful in scenarios where paging and background audio operate on a shared system with stable performance across all the zones.
Here are the necessary scenarios where this approach is most effectively used:
- Large Multi-Speaker Environments
AV teams usually prefer deploying 70V ceiling speakers in corporate offices, warehouses, schools, hotels, retail spaces and training rooms where audio coverage is required across multiple rooms or large floor areas without the need for complex amplifier planning.
- Extended Cable Infrastructure
Commercial projects with longer routing distances between AV racks and overhead audio locations benefit from constant-voltage distribution because it maintains more stable performance across larger facilities.
- Independent Audio Zones
Spaces such as reception, conference rooms, corridors, dining areas often require the need of separate volume control and announcement-based routing. Using these distributed audio architectures streamlines zone expansion and area-based control.
- Shared Paging and Music Distribution
Retail environments, hospitality venues, educational campuses and industrial facilities frequently rely on the same overhead network for voice announcements and ambient playback throughout daily operations.
How Do Tap Settings Change Coverage and System Load?
In commercial AV systems, tap settings influence speaker output, paging intelligibility, and overall amplifier demand. In a 70V speaker layout, higher settings like 5W or 10W increase loudness but also raise total wattage draw across the audio line. This often leads to amplifier clipping or uneven paging after commissioning.
A ceiling speaker installed at a 9-foot ceiling height in a quiet office corridor may only require a 1W or 2W setting for comfortable background audio. The same model deployed in a warehouse aisle, retail entrance, or commercial kitchen typically needs more output to maintain clear speech above the ambient noise floor.
One of the most common mistakes in a 70V speaker layout is increasing output levels without recalculating available amplifier headroom. As connected load increases, systems can develop distorted announcements, thermal shutdowns, inconsistent SPL between zones, and reduced expansion flexibility.
The most reliable distributed audio designs balance room acoustics, ceiling height, speaker sensitivity and power distribution rather than applying the same transformer setting across every space.
How Do You Calculate Amplifier Capacity for a 70V Ceiling Speaker System?
Amplifier sizing for a 70V ceiling speaker system is based on the total connected power load with an additional operational headroom. This approach ensures reliable performance, avoids audio distortion and streamlines real-world operational demands in commercial AV environments.
Step-by-Step Amplifier Sizing Procedure for AV installations
The amplifier calculation process follows the structured approach:
- Add all speaker tap wattages.
- Calculate the overall connected load.
- Add amplifier headroom for peak demand.
- Also, consider future system expansion.
- Separate the zones based on acoustics and usage priority.
Note
Following these steps helps ensure the amplifier operates efficiently and does not become overloaded during peak usage.
Real-Life Example of Speaker Load Calculation in a Warehouse Paging System
Consider a warehouse paging system having:
- 24 speakers tapped at 5W
- 12 speakers tapped at 10W
Total connected load:
- 24 × 5W = 120W
- 12 × 10W = 120W
Final Total System Load = 240W
This shows the total connected wattage required by the system.
Problem / Failure Case Scenarios
The original contractor selected a 240W amplifier because it matched the calculated speaker load exactly.
During simultaneous emergency announcements:
- The amplifier clipped.
- Speech became distorted.
- Intelligibility dropped in noisy warehouse aisles.
- Thermal protection triggered during extended paging.
Process Explanation
Commercial AV amplifier sizing should include headroom. Most integrators target approximately an additional capacity beyond the calculated speaker load.
In this case:
- Connected load = 240W
- Recommended amplifier range = 300W or higher
The redesign also separated operational zones for:
- Warehouse floor paging
- Office announcements
- Loading dock communication
AV teams often prefer XTEN-AV’s Ceiling Speaker Layout Tool to visualize speaker distribution, tap settings and zone behavior before finalizing amplifier capacity for large commercial deployments.
Final Outcome of Proper 70V Amplifier Capacity Planning
The corrected amplifier strategy:
- Clear and consistent speech clarity.
- Reduced distortion risk.
- Improved amplifier reliability and lifespan.
- Scalable design for Future Expansion scenarios.
- Stable performance during emergency paging situations.
How Do Paging and Background Music Change the Layout?
Paging and music reinforcement place different acoustic demands on a commercial audio system. A layout optimized for speech intelligibility will not always deliver smooth SPL consistency for a background music system, especially in hospitality and retail environments.
Paging-focused deployments in warehouses, schools and transit spaces prioritize vocal clarity, higher output levels and intelligibility across long coverage paths. In contrast, restaurants, pubs and retail floors require tighter speaker spacing, smoother frequency response and more even dispersion to avoid hot spots and listener fatigue.
One of the most common design mistakes is using the same coverage strategy for both speech and music playback. This often creates uneven SPL between zones, weak low-level music presence, or paging that becomes difficult to understand in high-ambient-noise areas.
During early-stage pub sound system design planning, AV integrators typically adjust zoning, speaker density, transformer taps and dispersion behavior based on the operational use of each space.
What Layout Patterns Work Best for Offices, Retail and Warehouses?
Commercial AV system design depends on zoning logic, ambient noise levels and calibrated speaker tap settings, not uniform ceiling grids.
Following are the layout patterns that work best for offices, retail spaces and warehouses:
Offices:
Open-plan floors with glass cabins often use a single ceiling grid, resulting in speech spill and uneven coverage. The fix is zone-based design across desks, collaboration areas and meeting rooms with adjusted tap levels per zone. This aligns audio with real corporate workflows. The result is clearer speech zones and stable background coverage.
Retail:
Stores often run uniform audio throughout the entry, aisles, and checkout, resulting in weak impact at the entrance and harsh audio in billing zones. The solution is flow-based zoning, with higher presence at the entry and lower levels in enclosed areas such as fitting rooms. This matches customer movement patterns. The result is a balanced engagement and a smoother in-store experience.
Planning audio coverage for aisles, checkout counters and customer areas? Learn how to select and position retail store ceiling speakers for a more balanced listening experience.
Warehouses:
Warehouses using office-style paging layouts fail in the presence of machinery noise and long distances. The correction is operational zoning across packing, dispatch, and loading areas with directional coverage and higher tap calibration. This aligns with industrial workflows. The result is reliable paging clarity across high-noise environments.
What cable and wiring decisions matter in 70V layouts?
Cable and wiring choices in a 70V ceiling speaker system directly affect coverage consistency, signal loss, and long-term reliability in commercial AV installations. 70V systems are designed for long-distance distributed audio, but performance depends on correct cable gauge, topology, plenum compliance and polarity consistency.
The following are the cabling and wiring decisions mentioned below that matter in a 70V layout setup:
- Cable gauge selection impacts signal consistency
18AWG works for shorter runs, while 16AWG is preferred for longer distances or higher load systems linked to 70V amplifier sizing. Undersized wiring leads to uneven SPL across zones. - Daisy-chain vs homerun topology defines system resilience.
Daisy-chain reduces cabling cost for background audio, while homerun or hybrid designs improve fault isolation in critical paging environments. - Plenum-rated cable ensures code compliance.
CMP-rated cable is mandatory in air-handling ceiling spaces. Non-compliance results in an inspection failure and full rework. - Polarity consistency prevents phase cancellation.
Incorrect polarity between overlapping speakers reduces clarity and weakens coverage in shared zones.
For detailed installation practices, refer to the ceiling speaker wiring guide.
70V vs 8-ohm: which approach fits this room?
A 70V ceiling speaker layout is optimized for wide-area sound distribution. It supports longer cable paths, simplified zoning, paging, and ambient audio coverage, making it suitable for offices, retail stores, hospitality venues, educational facilities, and public spaces.
An 8-ohm configuration is designed for higher-fidelity playback and tighter acoustic control. It provides stronger stereo separation and greater dynamic performance, which is well-suited to boardrooms, entertainment venues, fitness studios, and other music-focused environments.
The right architecture depends on the room usage. For scalable coverage and easier infrastructure management, distributed audio is often the practical choice. For immersive listening and performance-oriented acoustics, low-impedance systems deliver better results. Many AV deployments combine both models, using ceiling-based distribution in common areas and dedicated loudspeakers in premium zones.
Following is the comparison table for 70V vs 8-Ohm system architecture and deployment strategy:
Design Parameter | 70V Distributed Audio | 8-Ohm Performance Audio |
AV System Intent | Built for wide-area audio distribution and operational clarity | Built for high-fidelity, immersive sound reproduction |
Primary Application | Paging, background music, multi-zone communication. | Meetings, presentations, entertainment and ensure proper listening. |
Ideal Room Environment | Large, open, high-traffic commercial spaces | Controlled, acoustically optimized enclosed rooms. |
Design Priority | Even coverage and system scalability | Audio precision and spatial detail. |
AV Integration Value | Simplified expansion across multiple zones | Fine-tuned acoustic control per room. |
Amplification Architecture | Centralized amplifier with transformer-based distribution | Dedicated amplification matched to speaker load. |
Deployment Method | Structured ceiling grid or distributed layout | Custom placement based on acoustic design goals. |
Best Use Zones | Offices, retail floors, corridors, campuses. | Boardrooms, studios, gyms, premium experience spaces. |
Sound Behavior | Consistent, uniform sound field across space | Directional, detailed, immersive sound staging. |
System Outcome | Functional, always-on background audio layer. | High-impact, experience-driven audio environment. |
For a deeper look at wiring topology, amplifier planning and deployment trade-offs, explore the complete 70V vs 8-ohm speaker system comparison guide.
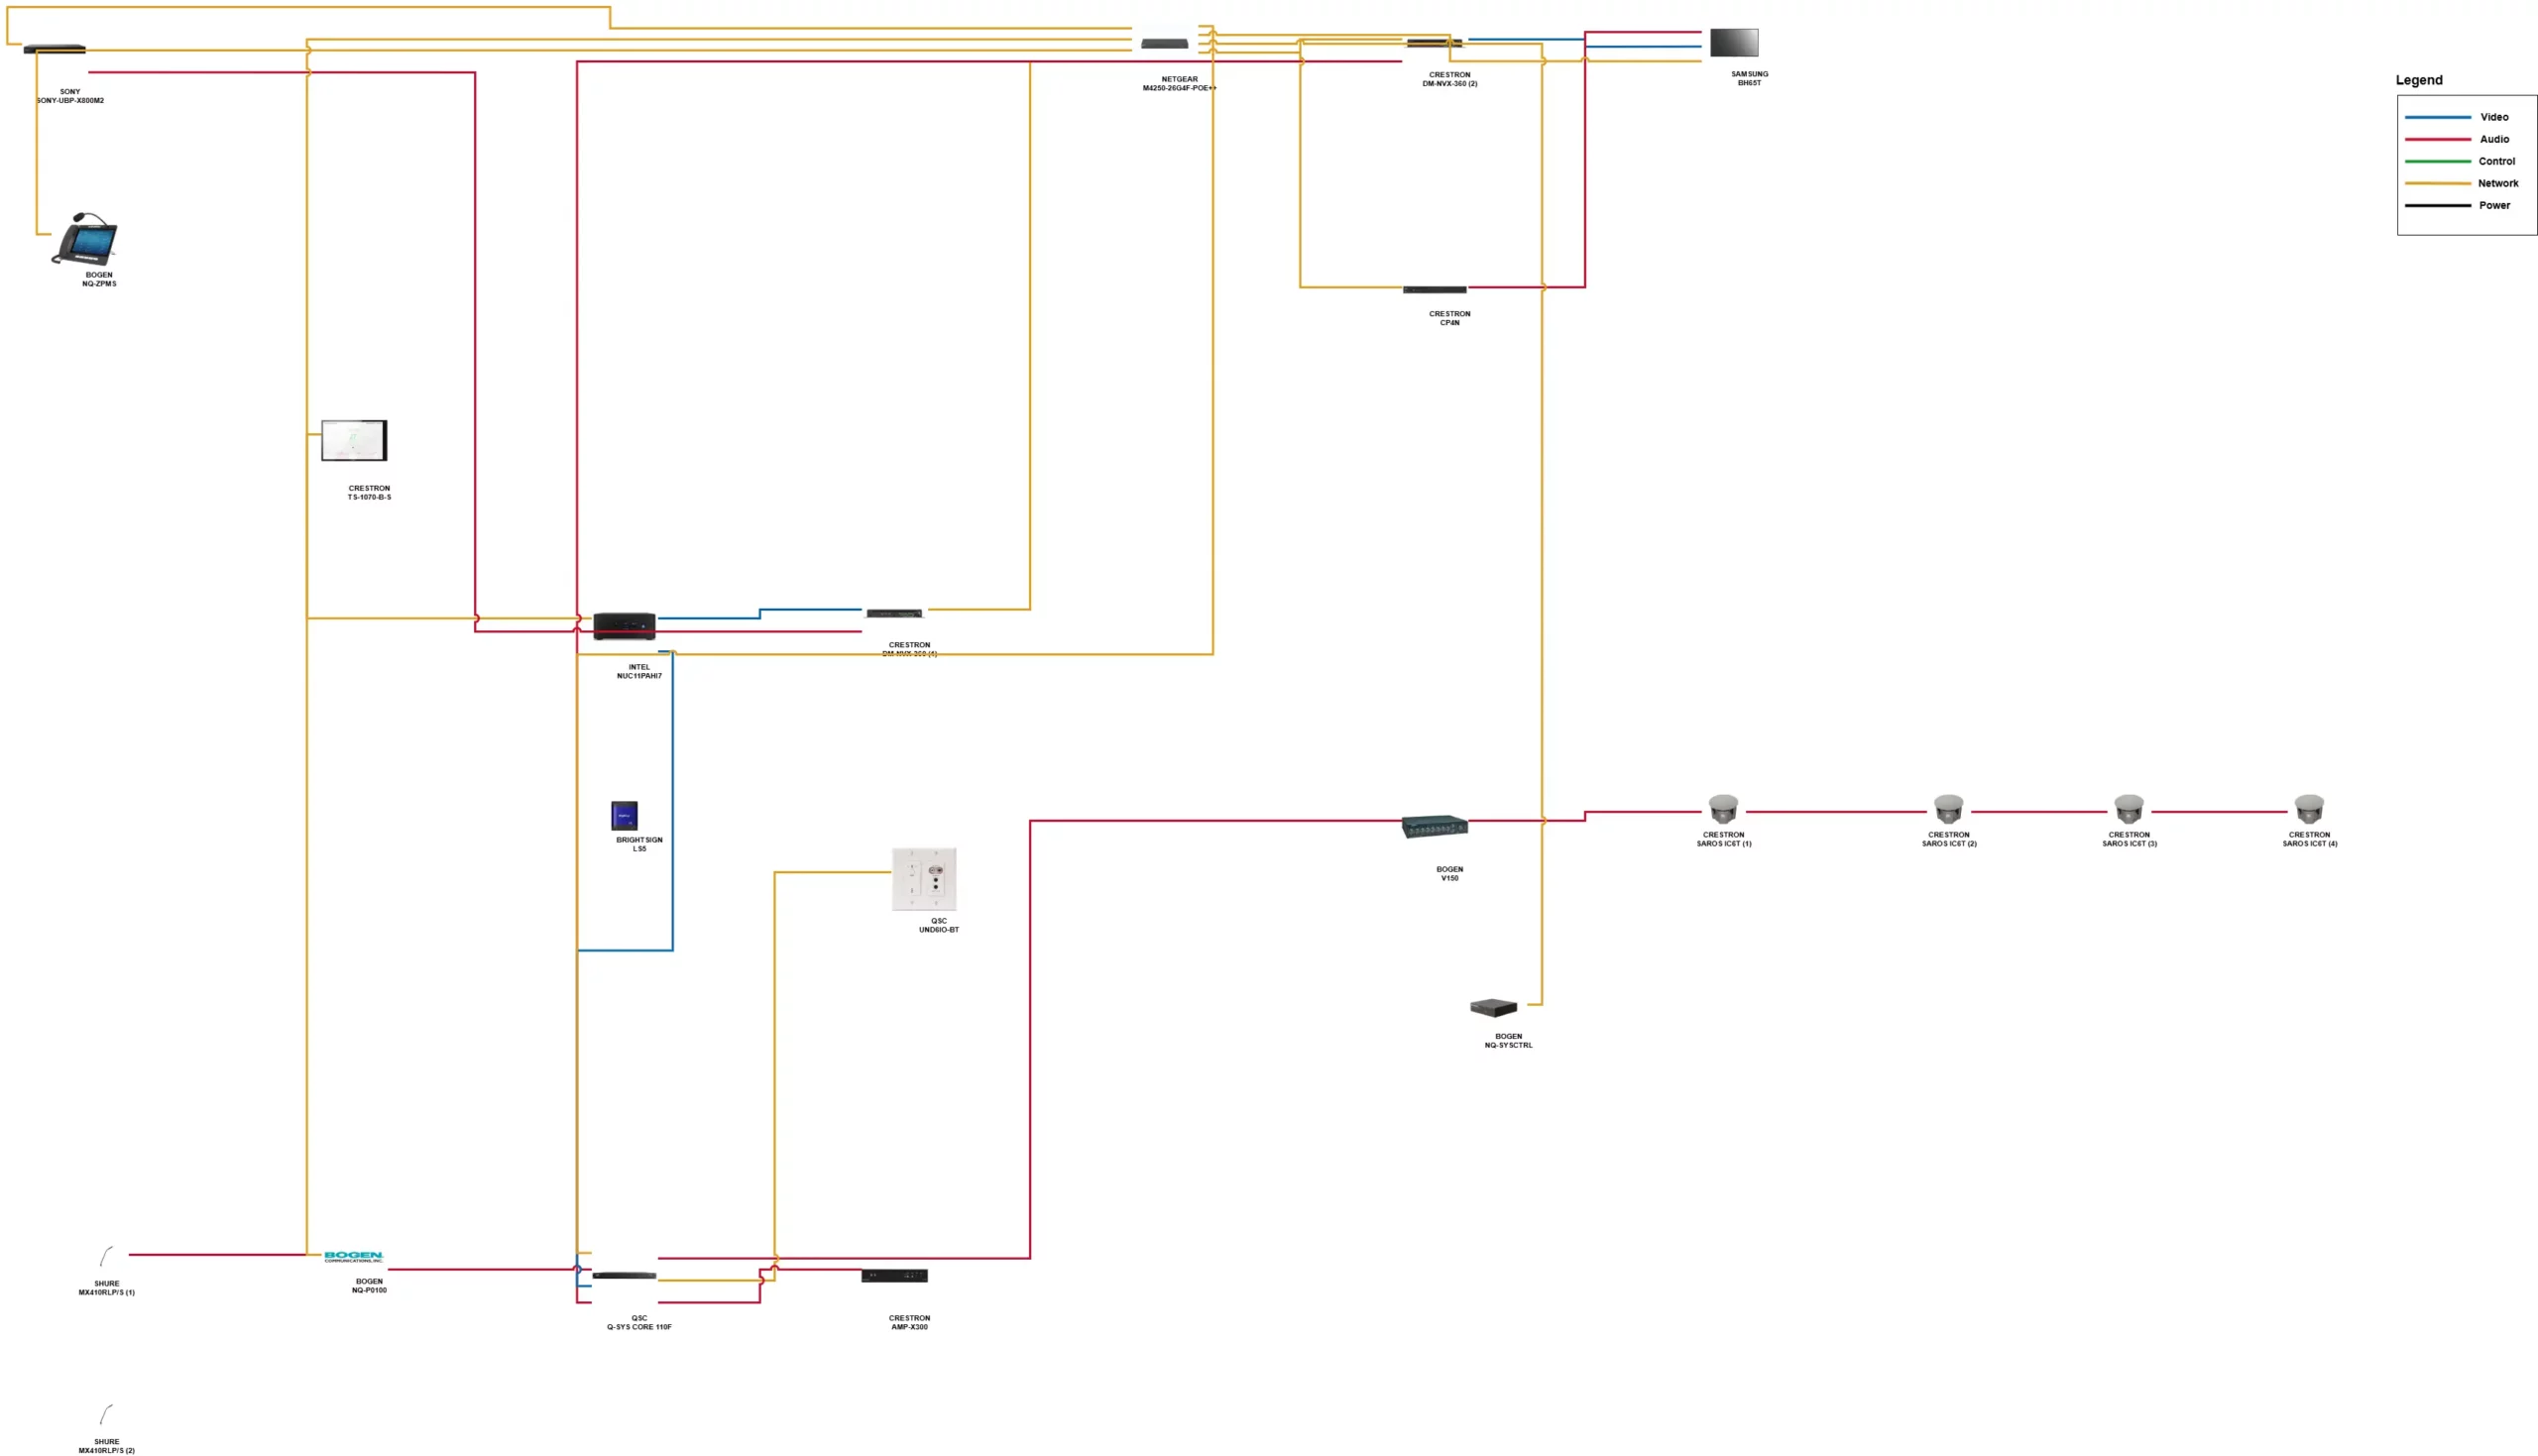
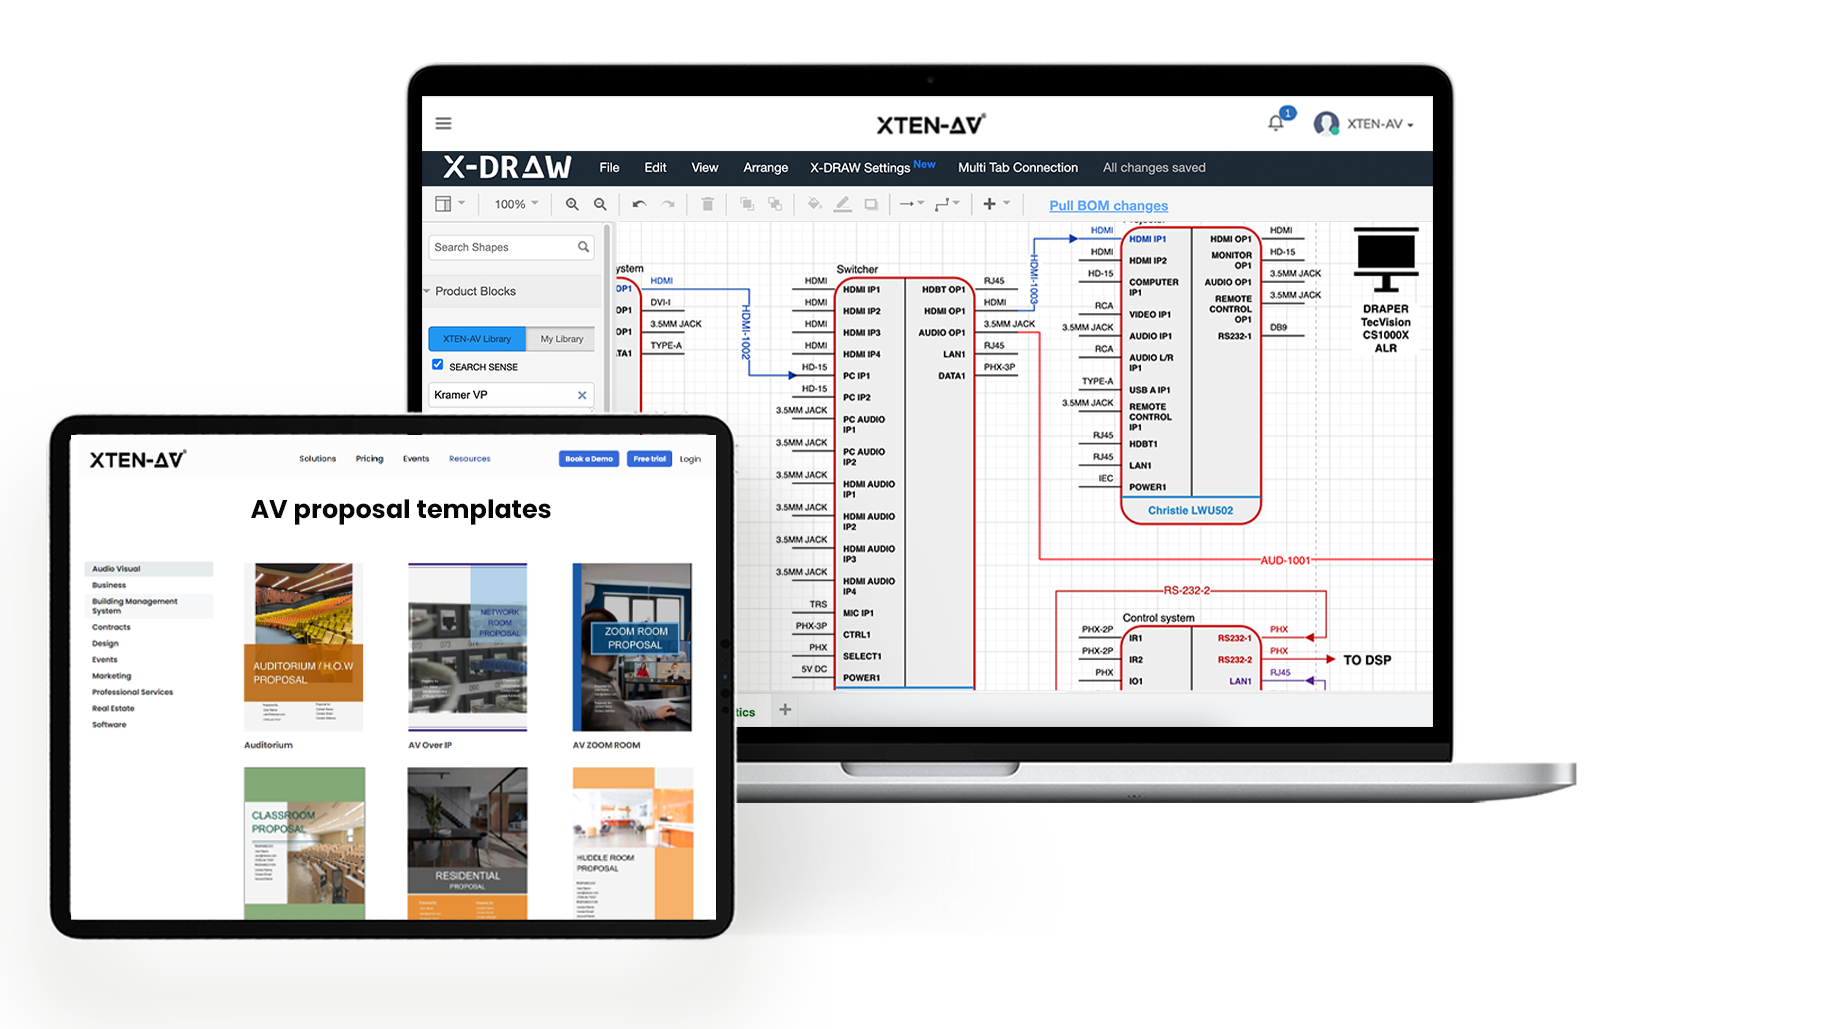
How Does X-Draw Help in Planning 70V Ceiling Speaker Layouts?
X-DRAW by XTEN-AV is a cloud-based AV Design and Diagramming platform that helps to generate automated CAD drawings for ceiling speaker layouts, enabling installation teams to place speakers based on zones, room size and build accurate schematic designs using real equipment data and AVIXA standard symbols. It offers support for 70V speaker system planning by maintaining load balancing through automatic updates to proper tap settings and wiring changes. It includes a 1.6M+ product library with over 5200+ brands, allowing users to design with real-world equipment specifications and standardized AV components.
Here’s how X-DRAW helps in planning 70V ceiling speaker layouts:
AV Design Built Around Real Installation Conditions
A 70V ceiling speaker layout often breaks down after the planning stage. Ceiling obstructions impact audio dispersion. Cable pathways shift during construction. Paging zones overlap once the facility becomes operational. Installers then adjust the deployment onsite, increasing labor time and documentation inconsistencies.
X-DRAW brings ceiling audio planning, cable routing, zoning and technical documentation into a single AV-specific design and diagramming environment built for commercial audio projects.
Smarter Planning for Distributed Audio Environments
During a large-scale warehouse PA system design project, amplifier allocation, speaker grouping and routing paths frequently change as room conditions evolve. In traditional CAD workflows, these revisions force engineers to manually rebuild schematics, wiring schedules, and equipment documentation across disconnected platforms.
With X-DRAW, AV teams can create ceiling audio diagrams directly on imported floor plans. At the same time, line schematics, rack elevation diagrams, cable schedules and BOM documentation remain synchronized with the active project drawing.
Better Coordination Across Commercial AV Workflows
Distributed audio deployments involve infrastructure planning, intelligibility mapping, rack coordination, and installer-ready documentation across multiple project phases.
X-DRAW keeps these workflows connected inside a cloud-based Audio visual (AV) diagramming platform. The result is fewer redesign cycles, faster technical documentation and stronger coordination between engineering, procurement and field installation teams.
Common 70V Ceiling Speaker Design Mistakes
Common 70V ceiling speaker design mistakes include incorrect tap settings, poor speaker spacing and use of undersized amplifiers. This can further lead to overload and uneven coverage and audio distortion. Further separating acoustics and load planning can cause system imbalance.
Now let’s look at the most common 70V ceiling speaker layout mistakes which affect amplifier performance, coverage accuracy and system reliability in commercial AV projects:
Amplifier overload due to tap changes:
Total tapped wattage is not recalculated after modifying speaker tap settings during installation, which can lead to overload conditions, distortion, thermal shutdown, or system failure under full load.
Incorrect uniform tap settings across different spaces:
Using the same tap value across all rooms ignores acoustic variation, resulting in poor speech intelligibility in noisy areas and excessive output in quieter zones, especially in paging speaker applications.
Improper speaker spacing and over-density:
Excessive or poorly planned speaker placement creates overlap zones and comb filtering, which reduce clarity and degrade overall sound quality rather than improve coverage.
Undersized amplifier based on partial load calculation:
Sizing amplifiers per zone rather than for the total simultaneous system load can cause failures when multiple zones operate together in real-world use.
Use of non-plenum cable in plenum ceilings:
Incorrect cable selection violates code compliance, often resulting in inspection failures, rework, project delays, and additional installation costs.
Disconnected acoustic and electrical design planning:
Coverage design and load calculation are treated separately, leading to SPL mismatches and reduced headroom when tap settings are changed without system-wide validation.
The all-in-one solution for your AV needs
Transform your audio-visual experience with XTEN-AV.
No Credit Card required
Audio Visual System Design Mastery + Winning Proposals = 10x Productivity!
- ✔ Automatic Cable Labeling & Styling
- ✔100+ Free Proposal Templates
- ✔ Upload & Create Floor Plans
- ✔1.5M Products from 5200 Brands
- ✔ AI-powered ‘Search Sense'
- ✔Legally Binding Digital Signatures
Conclusion
A 70V ceiling speaker layout performs best when coverage, tap selection, and amplifier loading are planned as a unified system. In environments that use paging speakers with background audio, consistency depends on balanced zoning and controlled power distribution, as even minor tap adjustments can affect headroom and output quality. When these factors are aligned from the outset, the system delivers clear communication and stable coverage across every space. X-DRAW by XTEN-AV streamlines this process by automating rack and ceiling layouts, transforming design inputs into precise, installation-ready outputs with greater speed and accuracy.
Designing audio coverage for an office, classroom, or commercial facility? Use this commercial ceiling speaker layout guide to plan speaker spacing, coverage zones and placement more accurately.
FAQ's
Use 70V ceiling speakers for commercial audio systems when multiple speakers, long cabling and wide-area sound coverage are required. At the same time, low-impedance speakers are suitable for smaller rooms that require high-quality music applications.
Tap settings control speaker power and volume. Higher taps increase coverage and loudness, while lower taps reduce system power consumption.
Add the wattage tap values of all connected speakers and include 20–30% headroom for reliable operation. For example, ten 5W ceiling speakers require at least a 60W 70V amplifier.
Yes, 70V ceiling speakers are ideal for background music and paging scenarios as they offer clear speech, scalable coverage and an efficient multi-speaker distribution.
Explore more by topic
AV Design Mastery + Winning Proposals = 10x Productivity!
- Automatic Cable Labeling & Styling
- 100+ Free Proposal Templates
- Upload & Create Floor Plans
- 1.5M Products from 5200 Brands
- AI-powered ‘Search Sense'
- Legally Binding Digital Signatures
No Credit Card Required
Related Blogs
-

- Posted by Sahil Dhingra
Audio Visual A Complete Guide to Commercial AV Companies: What to Expect,...

-
- Posted by Sahil Dhingra
Audio Visual 6 Best Field Service Management Software for Audio Visual (AV)...
-
- Posted by Sahil Dhingra
Audio Visual What Is an AV Connection Check and Why Does It...